Introduction
Welcome to our guide on creating spooky and captivating Halloween drawings on a whiteboard! Whether you’re a professional artist or just starting out, this step-by-step tutorial will provide you with expert tips and tricks to help you bring your Halloween-themed artwork to life. From choosing the right materials to adding shadows and highlights, we’ll cover everything you need to know to create impressive and hauntingly beautiful whiteboard Halloween drawings. So, let’s dive in and unleash your creativity!
Choosing the Right Materials
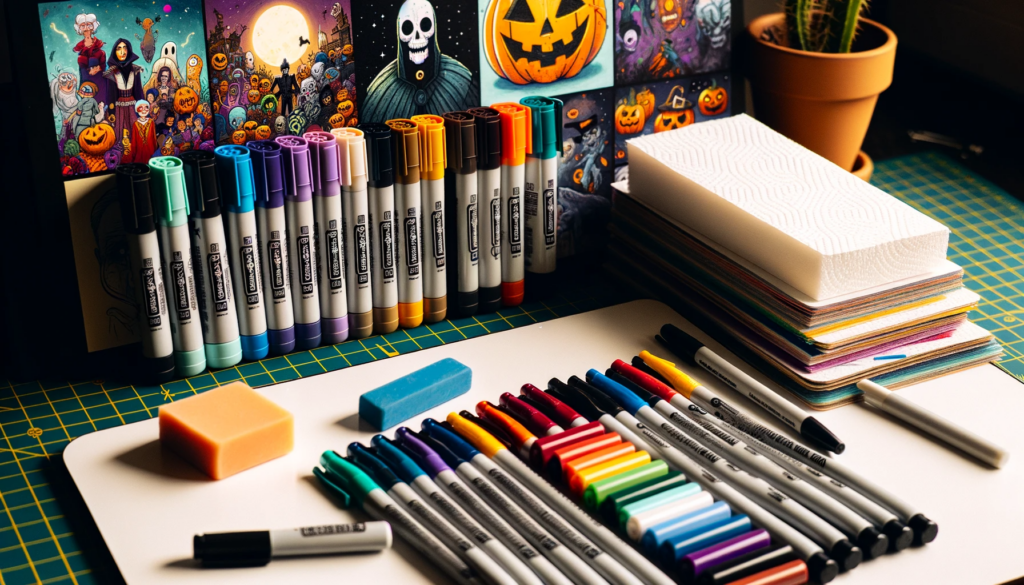
When it comes to creating Halloween drawings on a whiteboard, selecting the right materials is essential for achieving great results. Here are some tips to help you choose the perfect materials:
- High-Quality Whiteboard Markers: Invest in markers that are specifically designed for whiteboard drawings. Look for markers with vibrant colors and a smooth flow for effortless sketching.
- Eraser: Make sure to have a reliable whiteboard eraser on hand to easily correct any mistakes or make changes to your artwork.
- Paper Towels or Dry Erase Wipes: Keep some paper towels or dry erase wipes nearby to clean the whiteboard surface and maintain a pristine canvas for your drawings.
- Reference Images: Gather reference images of Halloween characters, backgrounds, and other elements to inspire your drawings and ensure accuracy.
By using high-quality markers, having the right erasing tools, and keeping your whiteboard clean, you’ll set yourself up for success when creating your Halloween drawings.
Sketching Halloween Characters
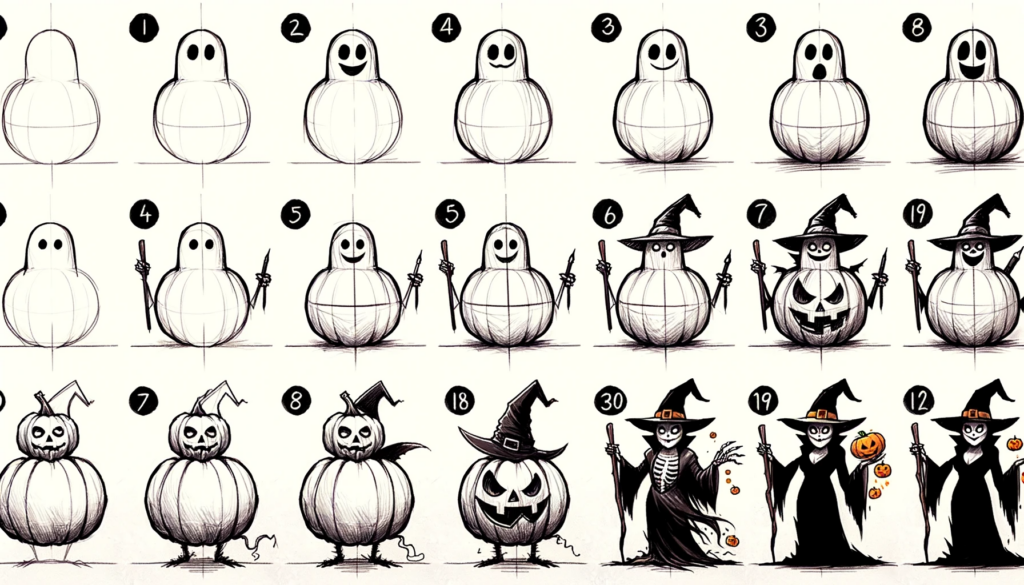
When it comes to creating Halloween-themed whiteboard drawings, sketching the characters is an essential step. Whether you want to draw spooky ghosts, wicked witches, or adorable pumpkins, here are some tips to help you bring these Halloween characters to life:
- Research and gather inspiration: Before you start sketching, take some time to research different Halloween characters and gather inspiration from various sources such as books, movies, or online images. This will help you get a clear idea of what you want to draw and allow you to add your own unique twist to the characters.
- Start with basic shapes: Begin by sketching the characters using basic shapes such as circles, ovals, rectangles, and triangles. These basic shapes will serve as a foundation for your characters and make it easier to add details and refine their appearance later on.
- Add details and features: Once you have the basic shapes in place, start adding the specific details and features that make each character unique. For example, you can add facial expressions, costumes, accessories, or other elements that are associated with Halloween.
- Experiment with different poses: Don’t be afraid to experiment with different poses and positions for your Halloween characters. This can add dynamism and make your drawings more interesting. Try drawing them in action poses or in poses that convey a certain mood or emotion.
- Refine and clean up the sketches: After adding all the necessary details, take some time to refine and clean up your sketches. Erase any unnecessary lines, make adjustments to proportions if needed, and ensure that the overall composition of your characters looks balanced and visually appealing.
Remember, practice makes perfect. Don’t get discouraged if your first attempts at sketching Halloween characters don’t turn out exactly as you envisioned. Keep practicing, experimenting, and refining your skills, and soon enough, you’ll be able to create stunning Halloween characters on your whiteboard.
Creating Spooky Backgrounds
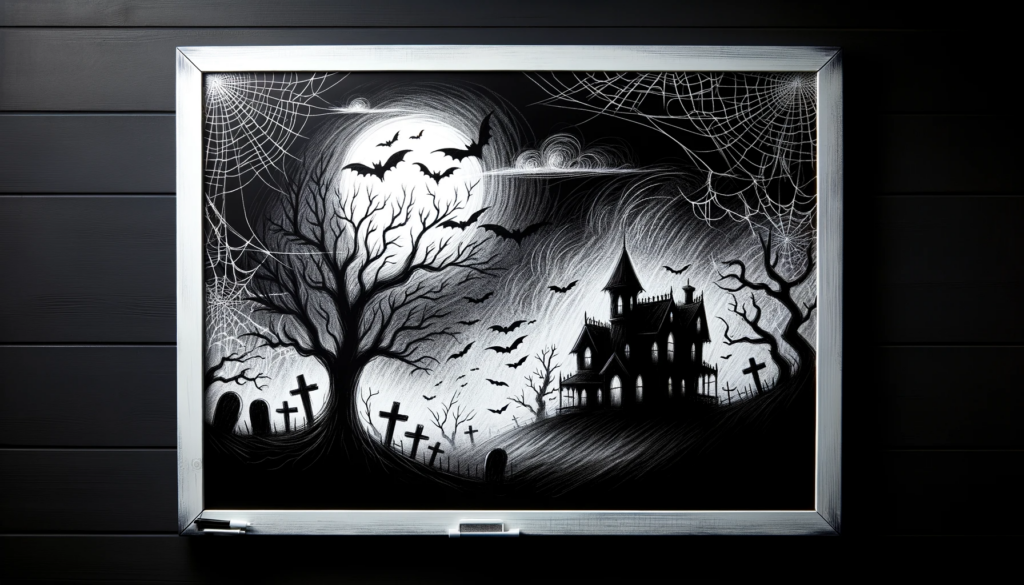
When it comes to drawing Halloween characters on a whiteboard, the background plays a crucial role in setting the spooky mood. Here are some tips on creating captivating and eerie backgrounds:
- Choose the right colors: Opt for dark and muted colors such as black, deep purple, or dark green. These colors will enhance the spookiness of your drawings and create a haunting atmosphere.
- Add texture: To make your background more visually interesting, consider adding textures like spiderwebs, cracked walls, or gnarled trees. This will add depth to your drawings and make them more engaging.
- Include moonlight or candlelight: To create an eerie ambiance, add elements of moonlight or candlelight to your background. Use white or pale yellow to depict the soft glow, and strategically place these light sources to enhance the mysteriousness of your drawings.
- Introduce fog or mist: Adding a touch of fog or mist to your background can take your whiteboard drawing to the next level. Use light strokes or a sponge to create a hazy effect in specific areas, giving your artwork a haunting and ethereal feel.
- Experiment with silhouettes: Silhouettes can be used in the background to add depth and intrigue to your Halloween drawings. Try incorporating the silhouettes of bats, witches, or haunted houses to create an eerie silhouette landscape.
Remember, creating a compelling background is essential for capturing the essence of Halloween. By following these tips, you can create whiteboard drawings that are not only spooky but also visually captivating.
Adding Color and Details
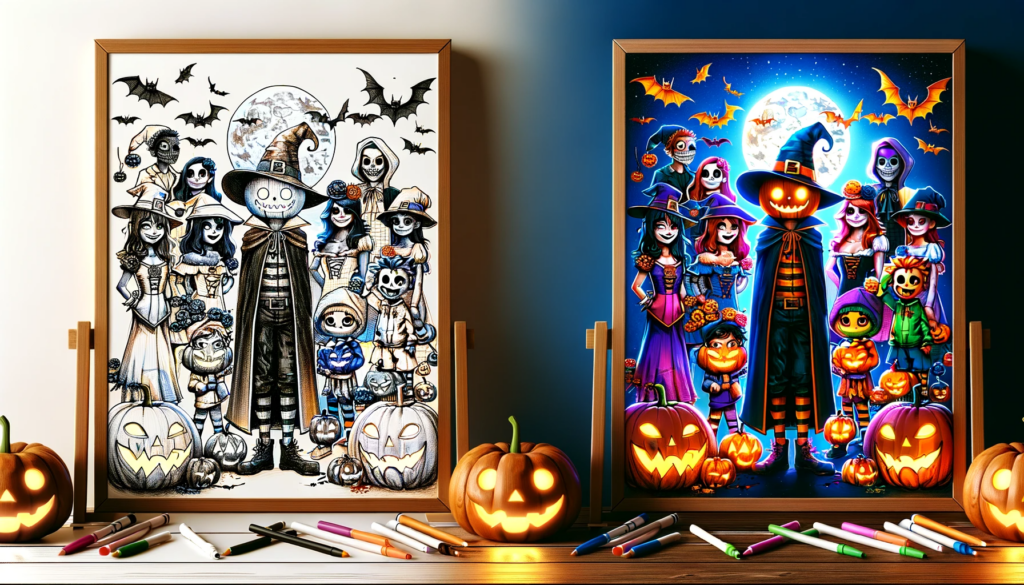
Once you have sketched your Halloween characters and created spooky backgrounds, it’s time to bring them to life by adding color and details. This step will enhance the overall look and make your whiteboard drawings more vibrant and engaging. Here are some tips to help you add color and details effectively:
1. Selecting the Right Colors
Choosing the right colors is crucial in creating a captivating Halloween scene. Opt for bold and vibrant colors that represent the festive spirit of Halloween. Shades of orange, purple, green, and black are commonly used for this occasion. Consider using contrasting colors to make certain elements stand out.
2. Filling in the Background
Start by filling in the background with a base color to establish the overall atmosphere. If you’ve chosen a spooky night scene, use dark shades to create an eerie ambiance. For a more playful Halloween theme, brighter colors can be used. Remember to blend colors smoothly to avoid any harsh transitions.
3. Adding Details to Characters
Use fine-tipped markers or colored pencils to add intricate details to your Halloween characters. This could involve drawing facial expressions, clothing patterns, or small accessories that enhance their appearance. Take your time and pay attention to the small details as they can make a significant difference.
4. Highlighting and Shading
To give your whiteboard drawings depth and dimension, incorporate shading and highlighting techniques. Determine a light source and add shadows accordingly. This will create a more realistic and visually appealing effect. Use lighter colors for highlights and darker tones for shadows, gradually blending them to achieve a seamless look.
5. Accentuating with Textures and Patterns
Add texture and patterns to certain elements of your Halloween drawings to make them visually interesting. For example, you can use cross-hatching or stippling techniques to create texture on pumpkins, witches’ hats, or haunted house walls. Patterns like spiderwebs or bats can also add a spooky touch to your artwork.
Remember, practice makes perfect, and the more you experiment with different colors and techniques, the better your whiteboard Halloween drawings will become. Have fun with the process and let your creativity shine!
Adding Shadows and Highlights
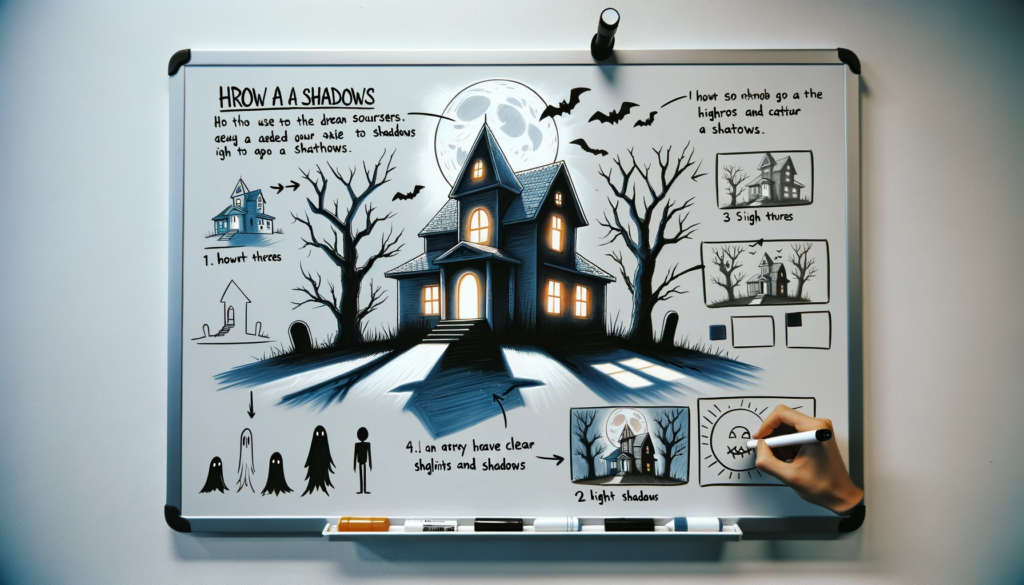
Adding shadows and highlights is an essential step in bringing your Halloween drawings to life on a whiteboard. This technique adds depth and dimension, making your characters and backgrounds look more realistic and spooky. Here are some tips and tricks to help you add shadows and highlights effectively:
- Study light and shadow: Before you start adding shadows and highlights, take some time to understand how light interacts with objects. Look at references or study photographs to observe how light casts shadows and creates highlights on different surfaces.
- Choose the right colors: When adding shadows and highlights, consider the color temperature of the light source. Shadows are usually cooler in tone, while highlights are warmer. Experiment with different shades and tints to achieve the desired effect.
- Use the right tools: Depending on the size and texture of your whiteboard, you can use various tools to add shadows and highlights. Dry erase markers, blending tools, or even cotton swabs can be used to create smooth gradients or subtle shading.
- Blend and feather: To create a more realistic look, blend the shadows and highlights by gently smudging or feathering the edges. This will help soften the transition between different tonal values and create a smoother appearance.
- Consider the light source: Determine the direction and intensity of the light source in your drawing. Shadows will be cast opposite to the light source, and highlights will be most prominent where the light hits the objects directly.
- Experiment and practice: Adding shadows and highlights is a skill that improves with practice. Don’t be afraid to experiment with different techniques and styles to find what works best for your Halloween drawings. Keep practicing, and you’ll soon develop your own unique shading style.
Remember, adding shadows and highlights is all about creating depth and bringing your whiteboard Halloween drawings to life. Take your time, be patient, and have fun with this step. With practice, you’ll be able to master the art of shading and create truly spooky and captivating artwork.
Tips and Tricks for Whiteboard Halloween Drawings
- Plan your drawing: Before starting your whiteboard Halloween drawing, sketch out your ideas and plan the placement of each element. This will help you create a well-balanced and visually appealing composition.
- Use reference images: It’s always a good idea to have reference images of Halloween characters and spooky backgrounds. This will help you accurately depict the details and ensure your drawing looks authentic.
- Start with light sketching: Begin your drawing with light pencil or chalk sketches on the whiteboard. This will allow you to make adjustments and corrections easily before adding permanent lines.
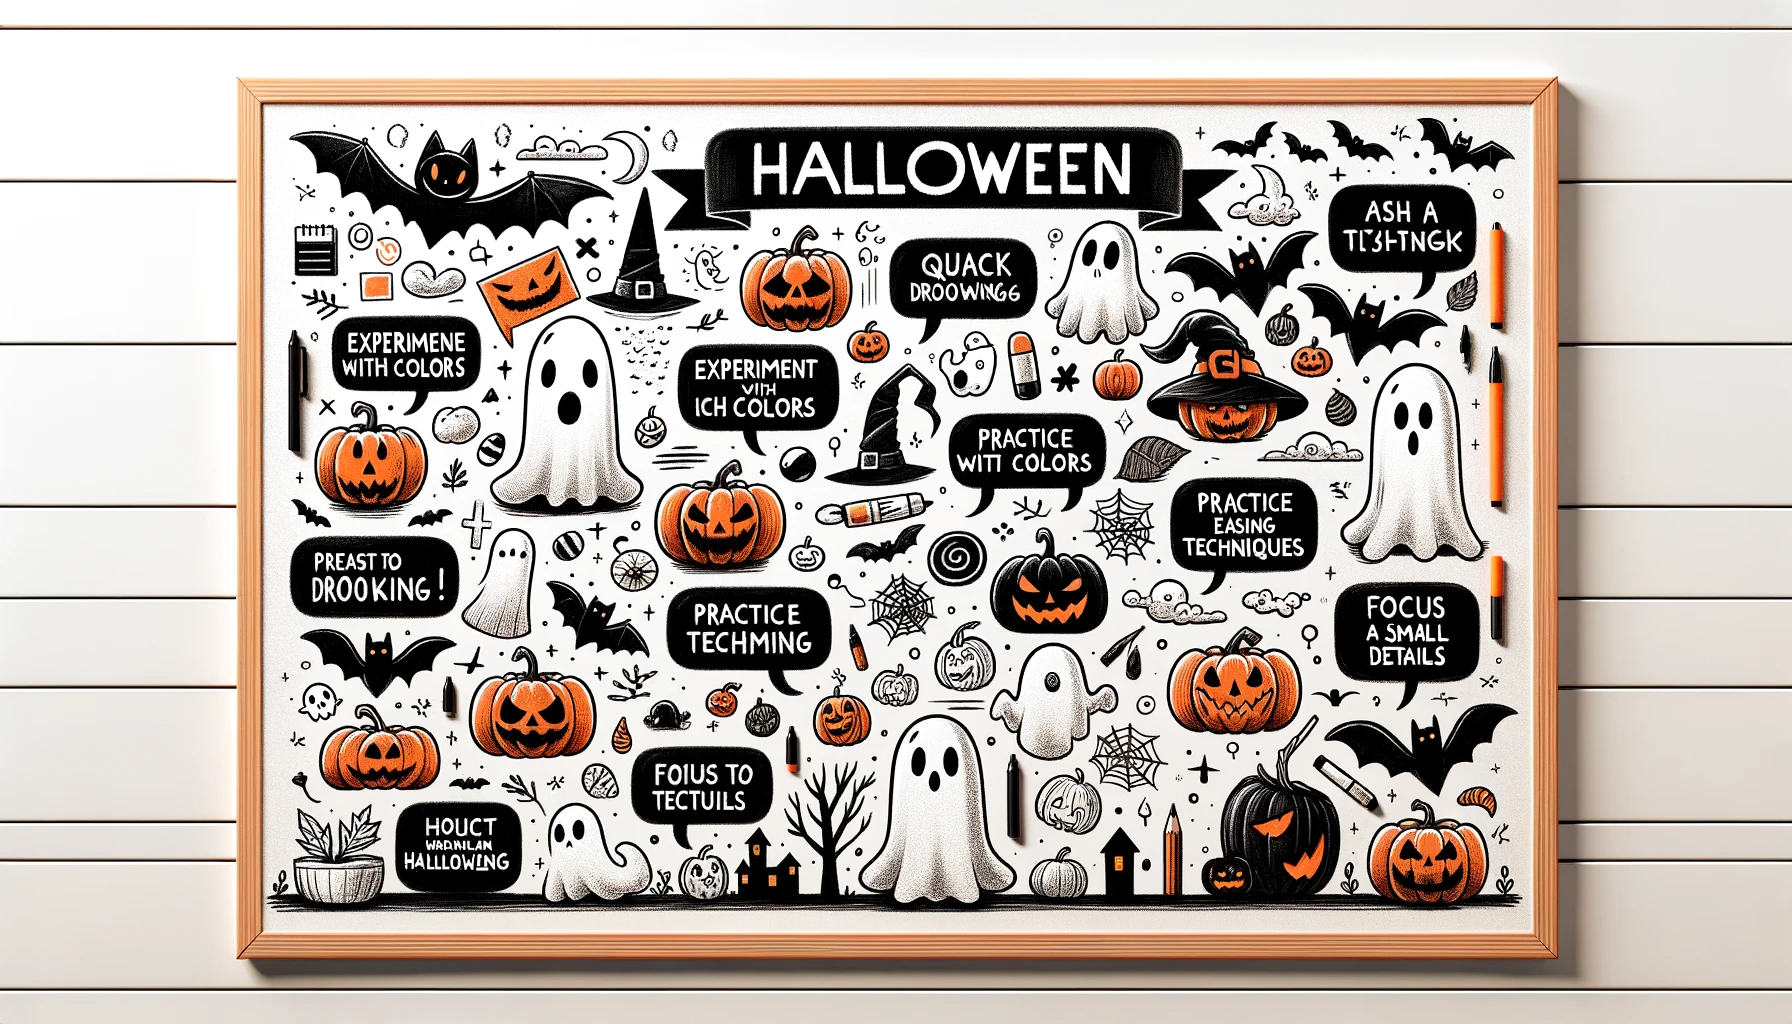
- Focus on details: Halloween drawings often have intricate details that make them more visually interesting. Pay attention to the small details, such as wrinkles on a costume or texture on a pumpkin, to add depth and realism to your drawing.
- Consider using colored markers: While whiteboard markers are typically black, consider using colored markers to add a vibrant touch to your Halloween drawing. This can make your artwork more visually appealing and engaging.
- Create depth with shadows and highlights: Shadows and highlights can add depth and dimension to your Halloween drawing. Use light and dark shades to create contrast and make certain elements stand out.
- Practice erasing techniques: Whiteboards allow for easy erasing, so make use of this advantage to refine your drawing. Use an eraser or a damp cloth to remove any unwanted lines or smudges.
- Experiment with different techniques: Don’t be afraid to try different drawing techniques and styles. This can help you discover new ways to create unique Halloween drawings and develop your own artistic style.



Leave a reply