Introduction
Welcome to our guide on creating Halloween-themed whiteboard drawings! Whether you’re a teacher looking for fun activities to engage your students or simply a Halloween enthusiast wanting to decorate your home or office, this step-by-step tutorial will help you bring spooky and festive designs to life on your whiteboard. With just a few materials and some simple instructions, you’ll be able to create impressive drawings of pumpkins, spiders, ghosts, witches, bats, and more! So, grab your markers and let’s get started!
Materials Needed for Halloween Whiteboard Drawings
Creating Halloween-themed whiteboard drawings can be a fun and engaging activity for both kids and adults. To get started, you will need the following materials:
- A whiteboard or a whiteboard wall
- Whiteboard markers in various colors
- An eraser or a cleaning cloth
- Reference images or stencils for the Halloween designs
With these materials at hand, you can easily bring the spirit of Halloween to life on your whiteboard.
Step-by-Step Instructions for Drawing a Spider on a Whiteboard
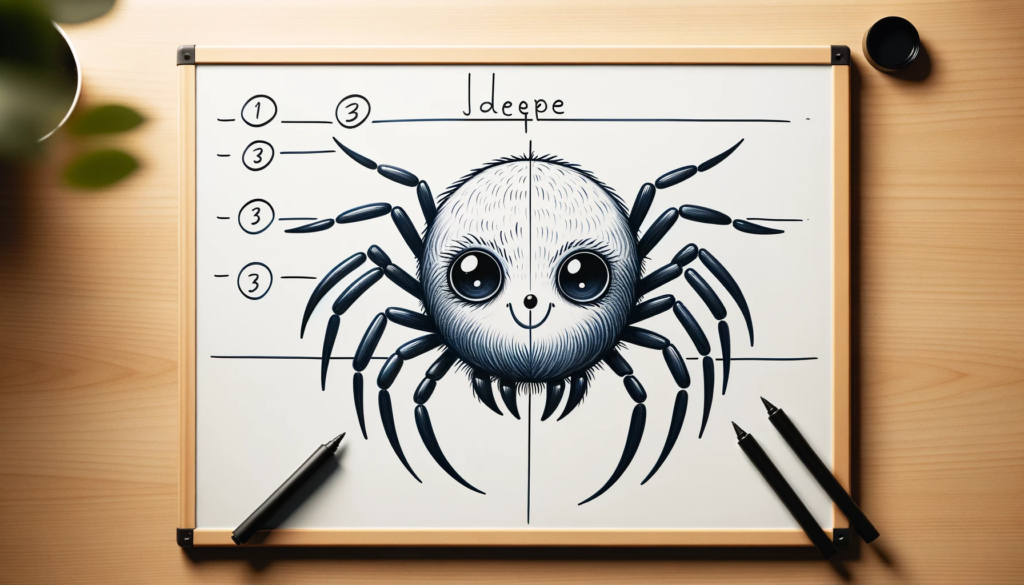
Creating a spider drawing on a whiteboard can add a spooky touch to your Halloween decorations. Follow these simple steps to bring a creepy crawly spider to life:
- Start by drawing a small circle in the center of the whiteboard for the spider’s body.
- Next, draw two slightly curved lines extending from the body to create the first two legs.
- Repeat the previous step to draw two more legs on each side of the body, making a total of eight legs.
- To make the spider look more realistic, add tiny curved lines to represent joints on each leg.
- Draw two larger circles above the body to create the spider’s eyes.
- Inside each eye, draw a smaller circle and shade it to give the eyes a sinister look.
- Finally, add some finishing touches by drawing a few curved lines on the body to represent hair or texture.
Remember, practice makes perfect, so don’t be discouraged if your first attempt doesn’t turn out exactly as you imagined. With a little patience and creativity, you’ll soon be drawing spooky spiders like a pro!
Step-by-Step Instructions for Drawing a Ghost on a Whiteboard
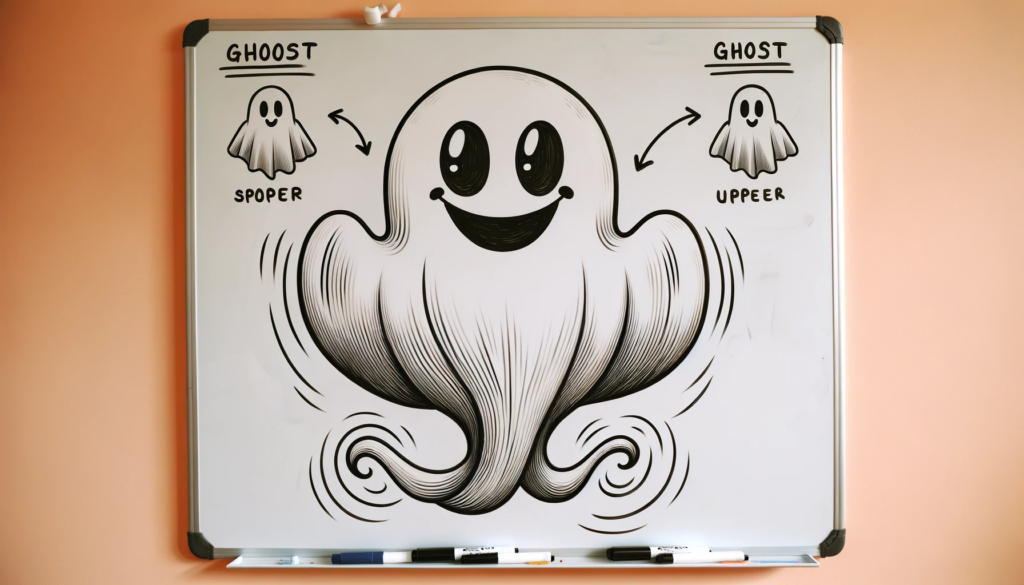
Creating a ghost drawing on a whiteboard is a fun and easy way to add a spooky touch to your Halloween decorations. Follow these step-by-step instructions to bring a friendly ghost to life:
- Start by drawing a large oval shape in the center of the whiteboard. This will be the head of the ghost.
- Add two small circles near the top of the oval for the eyes. Make sure to leave some space between them.
- Draw a wide, curved smile beneath the eyes to give the ghost a friendly expression.
- Below the head, draw a long, flowing shape for the ghost’s body. This shape should resemble a sheet or a cape.
- Next, add two curved lines extending from the bottom of the body shape to create the ghost’s legs. These lines should be slightly wavy to give the ghost a floaty appearance.
- To complete the ghost, draw two small ovals at the end of each leg for the feet.
- If you want to add some extra details, you can draw a few wispy lines coming off the sides of the ghost’s body to represent the flow of the sheet or cape.
- Finish off your ghost drawing by erasing any unnecessary lines and adding some shading or highlights to give it dimension.
- Voila! You now have a charming ghost drawing on your whiteboard to set the Halloween mood.
Remember, don’t be afraid to get creative and add your own personal touches to make your ghost unique. Happy drawing!
Step-by-Step Instructions for Drawing a Bat on a Whiteboard
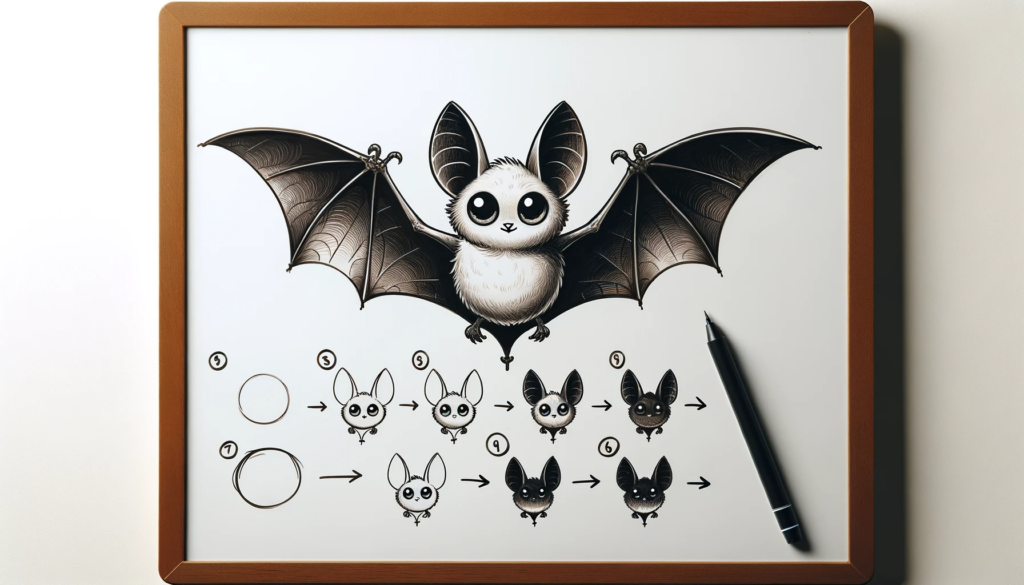
Creating a spooky bat drawing on your whiteboard is a fun and engaging activity for Halloween. Follow these step-by-step instructions to bring this classic Halloween creature to life:
- Step 1: Start by drawing a large oval shape in the center of your whiteboard. This will be the body of the bat.
- Step 2: Add two small circles on top of the oval shape to represent the bat’s head and ears. Make the circles slightly overlapping the body.
- Step 3: Draw two curved lines extending from the bottom of the oval shape to form the bat’s wings. The wings should be symmetrical and slightly wider at the top.
- Step 4: Inside the head circle, draw two small oval shapes for the bat’s eyes. Add two tiny dots inside the eyes to represent the pupils.
- Step 5: Beneath the eyes, draw a small triangle shape for the bat’s nose. Connect the nose to the mouth by drawing a curved line.
- Step 6: Add details to the wings by drawing curved lines or zigzag patterns to create a wing-like texture. You can also add additional lines to define the body and ears.
- Step 7: Erase any unnecessary lines and smoothen the drawing to refine the bat’s shape.
- Step 8: Use your whiteboard markers to color in the bat. You can choose traditional black or get creative with different shades or patterns.
- Step 9: Once the ink is dry, admire your spooky bat drawing on the whiteboard. It’s ready to add a touch of Halloween spirit to your space!
Remember, practice makes perfect, so don’t be afraid to try different variations and styles when drawing your bat. Have fun and let your creativity soar!



Leave a reply