Introduction
Welcome to our guide on creating your own DIY glass whiteboard! Whether you want to spruce up your office space or add a touch of creativity to your home, a glass whiteboard can be a stylish and functional addition. In this guide, we will explore the benefits of DIY glass whiteboards, the materials needed to create one, step-by-step instructions for the process, creative ideas for customization, popular trends, and a conclusion summarizing everything. So let’s get started and unleash your creativity!
Benefits of DIY Glass Whiteboards
![]()
Creating a DIY glass whiteboard can be a practical and cost-effective solution for those who need a versatile and stylish writing surface. Whether you’re using it in your home office, classroom, or conference room, a DIY glass whiteboard offers numerous benefits that make it a popular choice among both professionals and DIY enthusiasts.
- Durability: One of the main advantages of a DIY glass whiteboard is its durability. Unlike traditional whiteboards, which can become scratched and stained over time, glass whiteboards are resistant to wear and tear. They are made from tempered glass, which is highly durable and can withstand heavy use.
- Easy to clean: Keeping a DIY glass whiteboard clean is a breeze. The smooth surface of the glass allows you to easily wipe away marker residue, leaving your whiteboard looking brand new with minimal effort.
- Stylish and modern: DIY glass whiteboards add a touch of elegance and sophistication to any space. With their sleek and minimalist design, they can enhance the aesthetics of your office or classroom, creating a more professional and modern environment.
- Customizable: Another advantage of DIY glass whiteboards is their customization options. You can easily personalize your whiteboard by choosing the size, color, and design that suits your needs and preferences. This flexibility allows you to create a whiteboard that complements your existing decor or reflects your personal style.
- Multi-functional: DIY glass whiteboards are not just for writing and drawing. They can also serve as magnetic boards, allowing you to easily attach documents, notes, or other important materials. This versatility makes them a practical choice for brainstorming sessions, presentations, and collaborative work.
By creating your own DIY glass whiteboard, you can enjoy all these benefits while saving money compared to purchasing a pre-made one. So why not give it a try and experience the advantages of a DIY glass whiteboard for yourself?
Materials Needed for DIY Glass Whiteboards
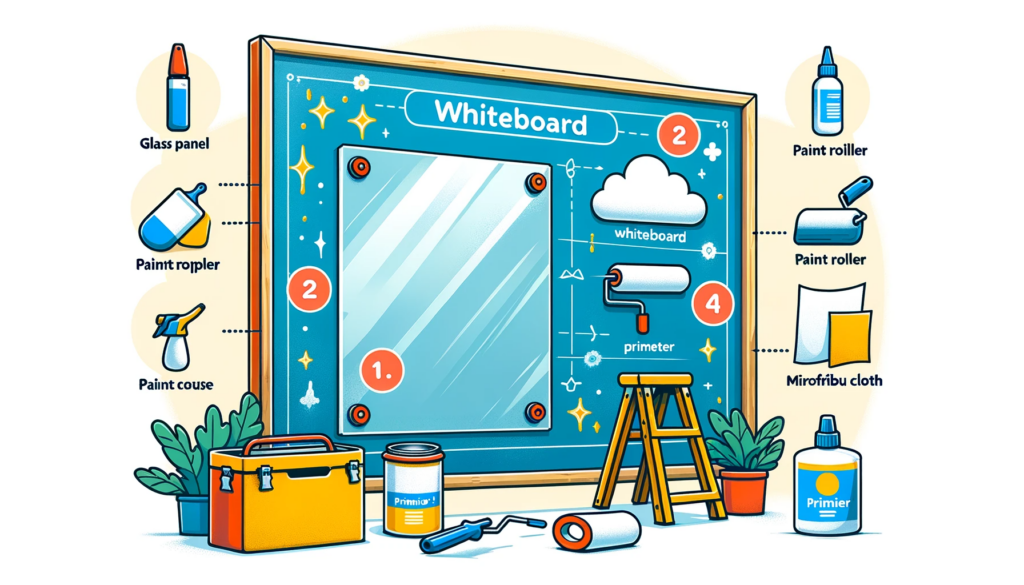
Before you embark on creating your very own DIY glass whiteboard, it’s important to gather all the necessary materials. By having everything in place ahead of time, you can ensure a smooth and efficient process. Here is a list of the essential materials you will need:
- Glass Panel: Choose a tempered glass panel with a smooth surface, preferably in a size that suits your needs.
- Whiteboard Paint: Look for high-quality whiteboard paint that is suitable for glass surfaces. This will serve as the base for your DIY glass whiteboard.
- Primer: Applying a primer before the whiteboard paint will enhance adhesion and durability.
- Paint Roller: A high-density foam roller will help you achieve a smooth and even coat of paint.
- Painter’s Tape: This will be used to create clean and defined edges, preventing paint from spilling onto unwanted areas.
- Drop Cloth or Plastic Sheet: Protect your work area by laying down a drop cloth or plastic sheet to catch any paint drips or spills.
- Paint Tray: Use a paint tray to hold the whiteboard paint and make the application process easier.
- Sandpaper: Opt for a fine-grit sandpaper to gently roughen the glass surface, ensuring better paint adhesion.
- Microfiber Cloth: A lint-free microfiber cloth will be handy for cleaning the glass surface and removing any dust or debris.
- Protective Gloves and Mask: Safety should always come first, so make sure to wear protective gloves and a mask while working with paint and chemicals.
By having these materials ready, you can proceed to the next step with confidence and create a stunning DIY glass whiteboard that suits your style and needs.
Step-by-Step Guide for Creating a DIY Glass Whiteboard
Creating your own glass whiteboard is a fun and cost-effective project that can enhance your productivity and creativity. Follow these simple steps to create your very own DIY glass whiteboard:
1. Gather the necessary materials
Before you begin, make sure you have all the materials you will need:
- A glass pane of desired size (tempered glass is recommended for safety)
- Glass cleaner or rubbing alcohol
- Painter’s tape
- Paint markers or dry erase markers
- A ruler or measuring tape
- A level
- A drill with a glass drill bit
- Screws and wall anchors
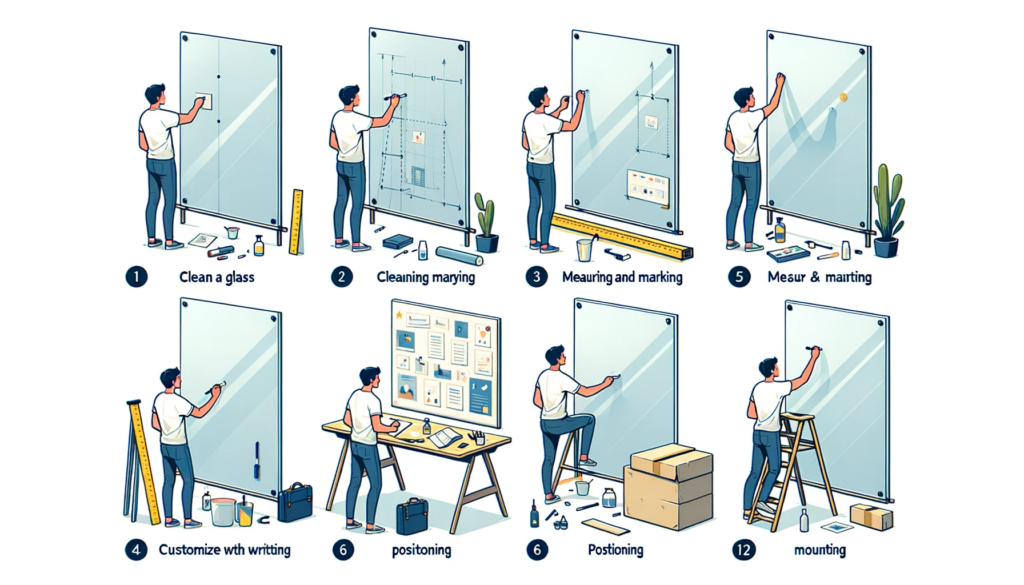
2. Prepare the glass
Clean the glass thoroughly using glass cleaner or rubbing alcohol. Make sure there are no smudges or fingerprints on the surface.
3. Measure and mark the desired dimensions
Using a ruler or measuring tape, measure and mark the dimensions on the glass pane. This will help guide you during the installation process.
4. Position and secure the glass
Using painter’s tape, carefully position the glass on the desired wall or surface. Make sure it is level and centered. Once in position, secure the glass by drilling holes through the corners and sides of the glass.
5. Mount the glass
Using screws and wall anchors, mount the glass onto the wall. Ensure that it is securely attached and level.
6. Customize your glass whiteboard
Now that your DIY glass whiteboard is installed, it’s time to get creative! Use paint markers or dry erase markers to draw or write on the glass surface. You can also use the painter’s tape to create different sections or grids on the whiteboard for organizing your thoughts and ideas.
7. Maintain and clean your glass whiteboard
To keep your glass whiteboard looking its best, regularly clean it with glass cleaner or rubbing alcohol. This will ensure that your writing or drawings are easily erasable and that the surface remains clear and shiny.
By following these step-by-step instructions, you can create your very own DIY glass whiteboard and enjoy the benefits of a sleek and functional workspace.
Creative Ideas for Customizing DIY Glass Whiteboards
Creating your own DIY glass whiteboard not only gives you a functional and stylish addition to your workspace, but it also opens up a world of possibilities for customization. Here are some creative ideas to personalize your DIY glass whiteboard:
1. Custom Colors
Instead of sticking to the traditional white, why not choose a color that matches your office decor or personal style? You can find glass paint or markers in a variety of shades, allowing you to create a unique and eye-catching whiteboard.
2. Artwork or Graphics
Transform your glass whiteboard into a work of art by adding your favorite illustrations or graphics. Whether it’s hand-drawn doodles or printed designs, incorporating artwork can bring a touch of creativity and inspiration to your workspace.
3. Inspirational Quotes or Mantras
Add motivation and positivity to your DIY glass whiteboard by writing or printing out inspirational quotes or mantras. Start each day with a dose of inspiration as you plan your tasks and goals.
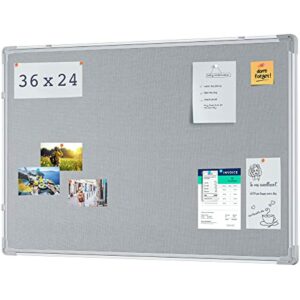
4. Functional Sections
Divide your glass whiteboard into different sections to help you stay organized and focused. Create a calendar section for scheduling, a to-do list section for tasks, and a brainstorming section for ideas. This way, you can easily keep track of different aspects of your work.
5. Magnetic Accessories
Add functionality to your DIY glass whiteboard by attaching magnetic accessories. You can find magnetic clips, hooks, or holders that allow you to hang documents, sticky notes, or even small office supplies like pens and erasers.
6. Washi Tape Borders
Enhance the visual appeal of your DIY glass whiteboard by adding decorative washi tape borders. With countless patterns and colors available, you can create a border that complements your office decor or adds a pop of personality.
7. Calendar or Planner Templates
If you prefer a structured approach to planning, consider adding a calendar or planner template to your glass whiteboard. You can find pre-designed templates online or create your own, making it easy to track deadlines, appointments, and important dates.
Remember, the customization options for your DIY glass whiteboard are endless. Get creative, have fun, and make it a reflection of your unique style and personality.
Popular Trends in DIY Glass Whiteboards
As DIY glass whiteboards have become more popular, various trends have emerged in terms of design and customization options. By incorporating these trends into your own DIY glass whiteboard project, you can create a stylish and functional space for brainstorming, organizing, and expressing your creativity. Here are some popular trends to consider:
- Colored Glass: While traditional glass whiteboards are typically clear or frosted, colored glass whiteboards have grown in popularity. Adding a splash of color to your DIY glass whiteboard can make it more visually appealing and fit in better with the overall aesthetic of your workspace.
- Patterned Glass: Another trend is using patterned glass for DIY whiteboards. This can range from simple geometric patterns to more intricate designs. Patterned glass can add a unique touch to your whiteboard and make it a focal point in your space.
- Frameless Design: Frameless DIY glass whiteboards have gained popularity for their sleek and minimalist look. Without a frame, the focus is solely on the glass surface, creating a clean and modern appearance.
- Magnetic Features: Integrating magnetic features into your DIY glass whiteboard can enhance its functionality. By using magnetic strips or adding a magnetic backing, you can easily attach notes, photos, and other items to the whiteboard surface.
- Multi-Panel Setups: Instead of having a single large glass whiteboard, many DIY enthusiasts are opting for multi-panel setups. This allows for more flexibility in organizing and visualizing ideas, as well as creating an interesting visual display.
- Collaborative Spaces: DIY glass whiteboards are not only for individual use; they also work well in collaborative environments. Many workplaces and educational institutions are creating collaborative spaces with multiple glass whiteboards placed together, encouraging teamwork and creative thinking.
By incorporating these popular trends into your own DIY glass whiteboard project, you can create a functional and visually appealing workspace that meets your specific needs and enhances productivity.
Conclusion
Creating a DIY glass whiteboard is a cost-effective and creative way to add functionality and style to your home or office space. The benefits of DIY glass whiteboards are numerous, including their durability, versatility, and easy maintenance. By following a step-by-step guide and gathering the necessary materials, you can easily create your own customized glass whiteboard.
Not only are DIY glass whiteboards practical, but they also provide an opportunity for personalization. You can customize your glass whiteboard with various creative ideas, such as adding a calendar or to-do list section, using different colored markers, or even incorporating artwork or motivational quotes.
Keeping up with popular trends in DIY glass whiteboards can also help you stay on top of the latest design ideas and techniques. From magnetic glass whiteboards to frosted glass options, there are endless possibilities to explore.
Remember, when creating your DIY glass whiteboard, safety should always be a priority. Be sure to handle the glass carefully and follow any manufacturer instructions or safety precautions. It’s also a good idea to consult professional advice if you’re unsure about any aspect of the DIY process.
Whether you’re looking to enhance your workspace or add some organization to your home, a DIY glass whiteboard is a fantastic option. Get started today and enjoy the benefits of this stylish and functional addition to your environment.


Leave a reply